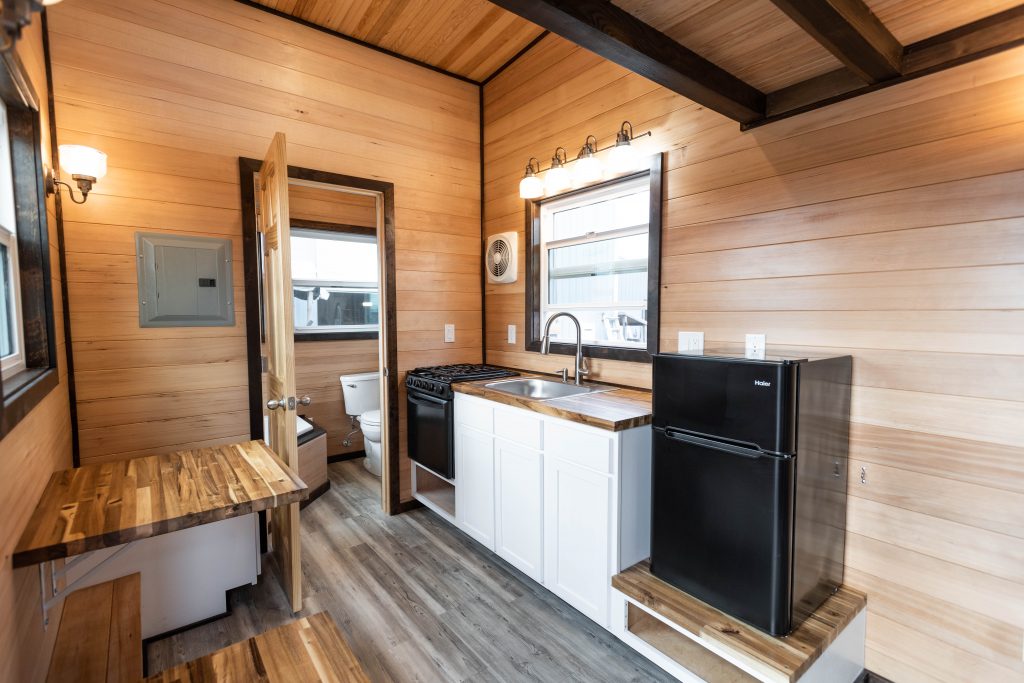
Looking for a special accent on your ceiling? We recently had a client who wanted a whitewashed effect on her tongue-and-groove hemlock lid (ceiling material). Our past experiments have concluded with mixed results, so we set out to devise a solution (literally and figuratively) that would produce the desired effect. We also wanted to achieve something that was easy to work with and dried quickly enough to finish all the boards in a timely manner.
Step 1:
After some in-depth research and about ten different trial mixtures, we settled on a mix of three components: Sherwin Williams “Base Bright Interior Acrylic Latex,” diluted 50/50 with Minwax Polyacrylic, plus an eighth of the total volume of distilled water. The results were perfection.
Step 2:
Sand the face to a 220 grit.
Step 3:
Apply the mixture first with a roller, then refine with broad stroked of a foam brush. Mind the edges and tongue portion for coverage and drips.
Step 4:
Let dry completely.
Step 5:
Sand again to 220.
Step 6:
Coat the entire board (front and back) with polyacrylic.
Ta-da! The final coat of polyacrylic will increase durability and lend a subtle sheen to the whitewashed faux finish. By covering the entire board, we’re protecting it from absorbing moisture and warping – both substantial concerns when handling ceiling material. In the end, the grain came through beautifully and created the polished (yet rustic) feel our client was longing for!


We’re pleased to bring you this guest blog by our finish and trim expert, Shana Hirst.