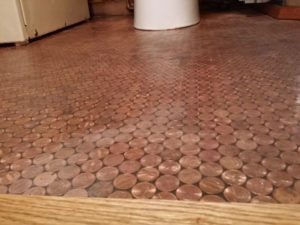
Looking for a fun way to finish your floor? Why not upcycle all those pennies you have into a cool copper floor? Today we will show you how we did this for a popular tiny house!

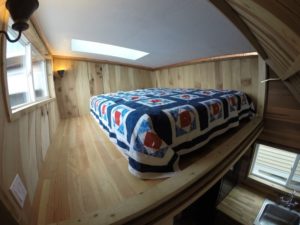
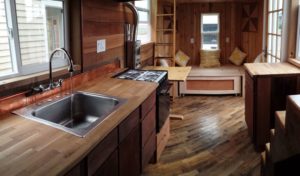
Over the years, we’ve been lucky enough to have multiple Tiny SMART Houses featured on HGTV’s Tiny House Hunters. In June 2015, we were able to showcase a special project that incorporated a lot of fun customizations. Viewers told us their most popular one is the penny floor. Would you like to do this yourself? Here are a few tips from our experience.
Prep the floor
First, you’ll want to make sure you have a clean and level area. Any little bump will push up your pennies and cause unwanted blemishes. You can use a tile mud to level the floor if you don’t have a smooth surface to start.
Prep the pennies
Once you have achieved a level surface, make sure it’s a dark color to really make those pennies stand out. We recommend buying a tarnish remover and soaking the pennies prior to letting them dry. This will take you a while and you’ll need more pennies than you probably thought possible. Make sure to leave enough time and bring extra materials just in case. The shine will be worth it in the end!
PLACE THE PENNIES
Next we used a spray adhesive, started in the furthest corner and worked down in rows. This may take some practice at first. Thankfully, these adhesives have a forgiving nature so that you can shift the pennies into neat rows as needed. Make sure any portion that you have already laid is covered prior to starting the next row of adhesive spray.
MAKe them a floor
Once the floor is completely covered, make sure that the surface is wiped down and no debris remains. If everything looks the way you desire then it’s time to float a thick layer of marine grade self leveling epoxy.
Do not step on it until you have followed the directions on the epoxy and the resin is completely cured.
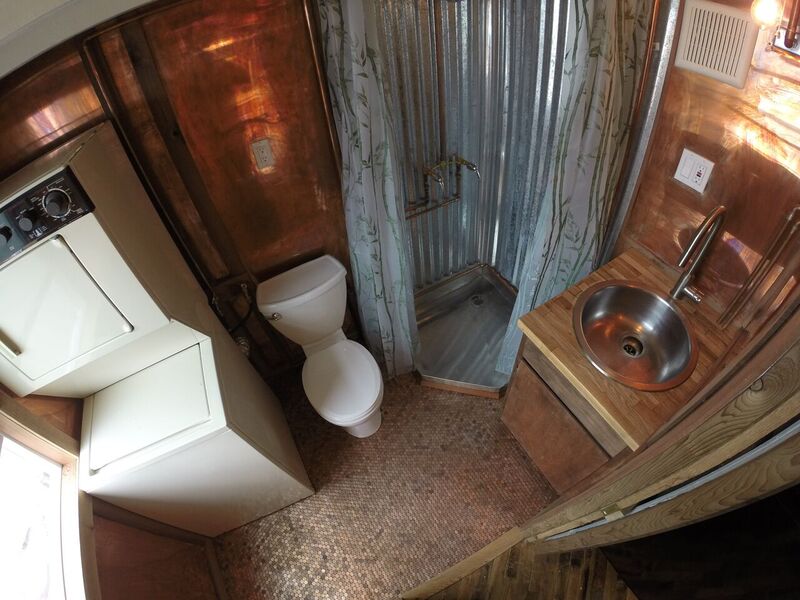
Then voila! You have a beautiful finished product that brings out all the other copper accents of your tiny house.
More Details from this creative house
We’re pleased to bring you this guest blog by our finish and trim expert, Shana Hirst.