Were To Park Your Tiny House

When choosing a place to park your tiny house, consider zoning laws and regulations in your area. Look for RV parks, tiny house communities, or private landowners who allow tiny homes. Make sure to have a legal agreement in place and ensure access to utilities such as water, electricity, and sewage. It’s also important to consider factors such as safety, security, and accessibility to amenities like grocery stores and public transportation.

Just B Tiny 2.0: Brenda’s story

Brenda, waving from the front of her home, Just B Tiny 2.0

How would you like to live in 204 square feet of space, in your own 8.5’X24’ tiny house?  Maybe in a tiny house community, where you are among 40 or so other tiny homes?  Where would you like this home to be?  Maybe walking distance to a beautiful beach on the Oregon Coast?  Meet Brenda Schwerin, who lives this lifestyle in her tiny home she calls “Just B Tiny 2.0”.

Brenda Just B Tiny NW Mountaineer
Just B Tiny 2.0

The reason she calls her tiny house 2.0 is because it is her second tiny home.  The first one, which was even tinier at 20’ long, was in an accident during its third trip.  It was made in Oregon, and then transported to Las Vegas, Nevada.  Brenda had lived in Northern California, in her past, in a 4,100-square foot house. She later had her house moved to Nevada where she stayed to help her aging mom.  She then moved her original tiny house to a Northern Californian RV park.  It was during that last leg from California (where she had been surrounded by fires!) to Oregon that her tiny house had a major accident on the highway!

Just B Tiny (first edition)

Brenda’s tip: “When you get insurance for your tiny home on wheels, make sure to inventory the value of the interior contents so you can replace everything!”

Brenda also recommends double checking (or have your lawyer read over) your policy to ensure that you are covered for 1. the dwelling 2. the trailer 3. the trip and 4. all your contents.

Tiny House, Giant Journey


Jenna – the YouTube creator and star of “Tiny House, Giant Journey” reached out to Brenda to coordinate interviewing her and creating a video tour of her home. Understandably, the interview was pushed off during the “stay home” orders related to the onset of the COVID-19 pandemic.  As the states slowly eased up restrictions, Jenna coordinated her trip.  Brenda, a favorite client, invited Tiny SMART House to come and be behind the scenes during the interview.

https://youtu.be/4_N3asjtb6I

Brenda has quite a dramatic story about how she came to live in her current home, which she calls “Just B Tiny 2.0”. You can learn more about Brenda’s story in Jenna’s video, which she titled “Her 1st Tiny House Crashed💥💔!! So She Made a Better One

Made for Comfort


Can you tell from the video how comfortable Brenda has made her space?  Brenda says the journey of downsizing is ongoing.  After all, she started with a lifetime of things from her 4,100-square foot house down to a 204-square feet home.  She made sure to have space to show her mementos from her life, room for her cat, lots of storage, an office and extra counter space for when she cooks – and she loves to cook! To aid her disabilities, she wanted a first-floor day bed, swing arm desktop, open cabinetry, easy climbing stairs and especially a soaking tub.  She got them all. Along with the design team at Tiny SMART House, they come up with the solution of using a horse trough for her to soak in!  Her tiny home truly has everything she needs.

Tiny Living Advocate

Brenda is happy living in her tiny home. At the RV park for tiny homes and vintage campers, (Tiny Tranquility) she meets interesting people, often profiling them in her lifestyle blog.  She is a tiny house advocate, involved as an active member in several tiny house associations, as well as giving advice to others going tiny.  If you’d like to learn more about Brenda, and the tiny house lifestyle (#justbtinylife) follow her on Instagram @justbtinyhouse or check out her blog https://justbtiny.com/justbjourney/


Guest blog and photos (except where noted by JUST B TINY) by Stacey Newman Weldon.  When she isn’t busy helping people create their own tiny custom homes, you can find her inspiring others to discovering their sense of fun at Adventure Wednesdays. Continue reading “Just B Tiny 2.0: Brenda’s story”

Tiny House Food Truck

When you’re washing dishes for hours on end, what would you dream of?  Do you dream of owning your own restaurant? Do you dream of being able to try new things or new places?  For Jacob Oliver, he dreamed of becoming his own boss and serving all kinds of different cuisines. His dream became the Kalamata Bistro tiny house food truck!

WHY A TINY HOUSE FOOD TRUCK?

Investing in a brick and mortar restaurant is a significant investment, and risk.  It can take up to $250,000 to launch a new restaurant.  If you don’t get everything right, such as location and food that appeals to the local market, you could end up spending so much more than expected, even if the doors close.  Oliver had worked at enough places to learn what could go wrong, as well as what could go right.  Although he loved most things about his pop-up kitchen that he had been running for eight years, setting up and tearing down every time was starting to wear on him.  To make his kitchen portable, he started investigating coffee carts.

Oliver says that food trucks and coffee carts are a great entry point for getting into the restaurant business.  The start-up investment is lower (between $60,000 – $100,000).  If a certain location doesn’t work out, it’s easy to move to a new corner to find your customers.  If the menu isn’t a hit, it’s easier to test out new items or genres.  With the growing popularity of food trucks, it’s not hard to sell your equipment if you want to get out completely.

One day, while on his way to check out a used coffee cart, Jacob passed Tiny SMART.  Thinking to himself: “Hey, that’s kind of cool.  I wonder if that would make an interesting rig?” he then pulled in.  Within a half hour, Nathan (the founder), had convinced him to build a unique tiny house food truck.  Oliver says he has the mindset to spend a little more upfront for quality and exactly what he wants instead of spending (probably) similar money fixing something that’s broken and trying to make it what he wants.

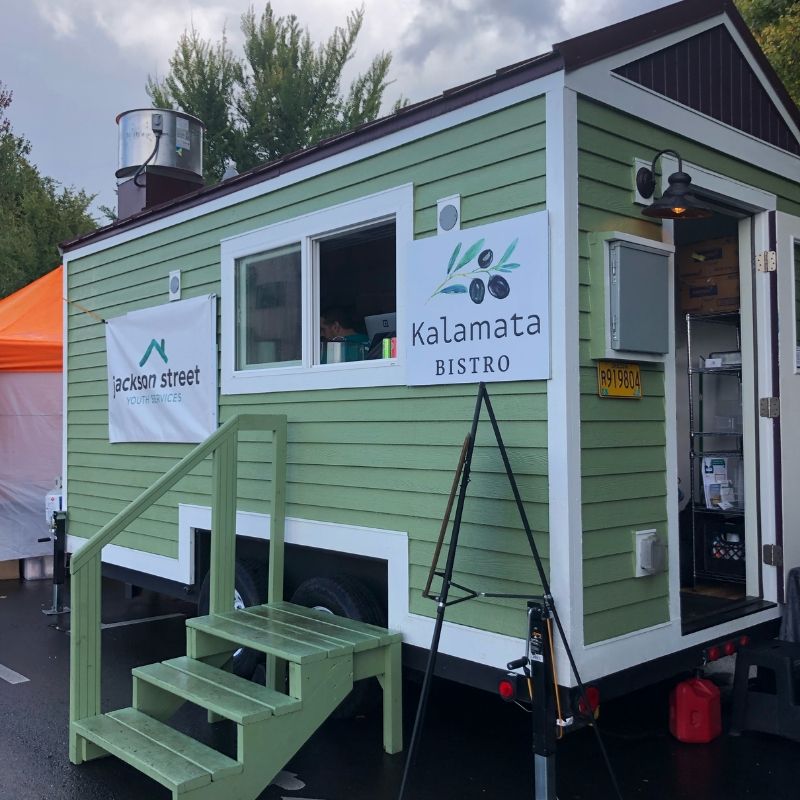
KALAMATA BISTRO TINY HOUSE FOOD TRUCK

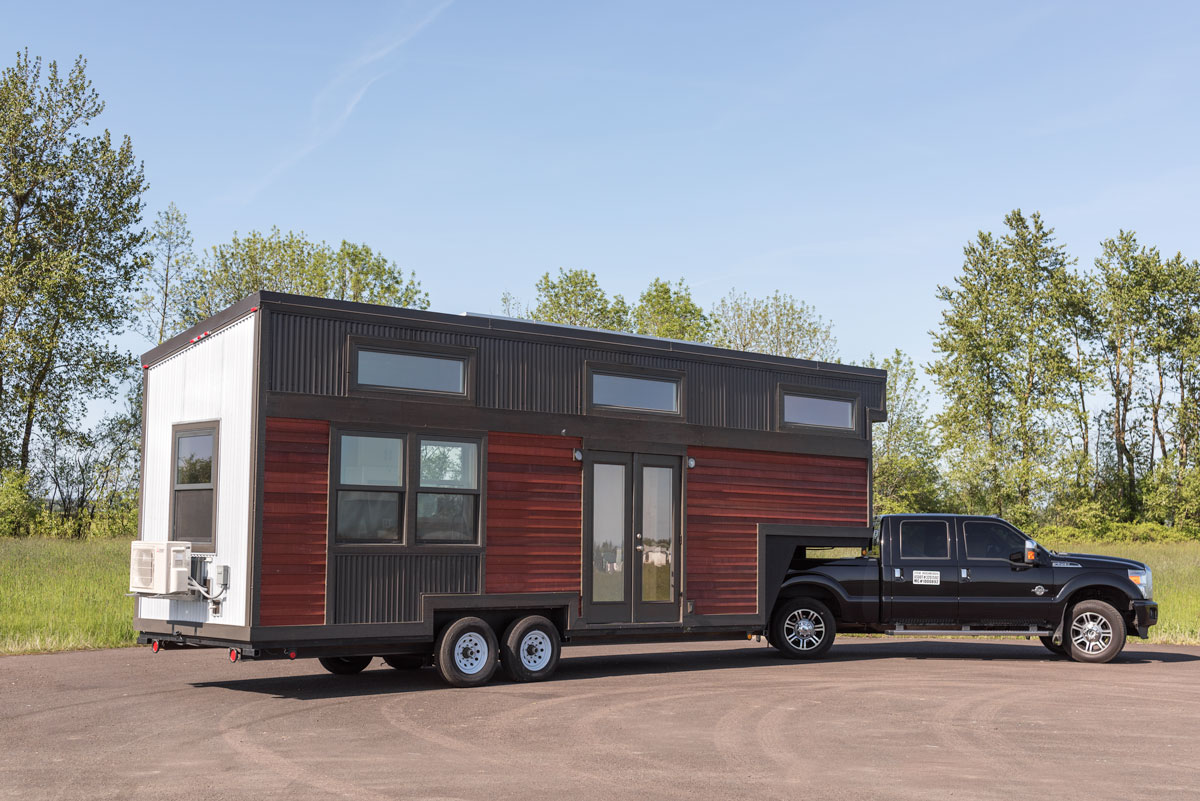
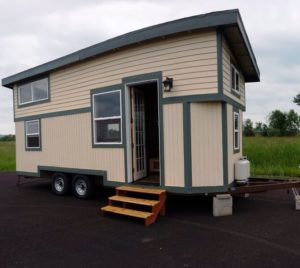
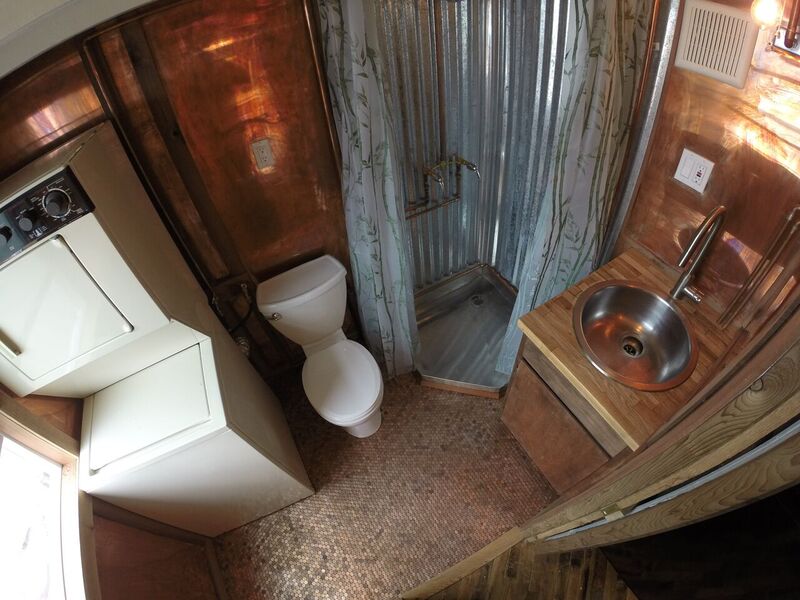
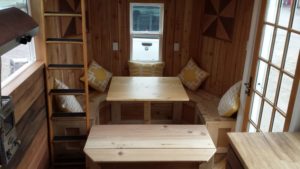
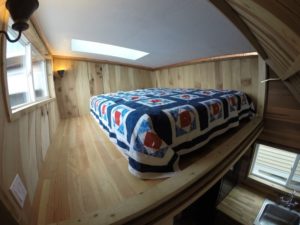
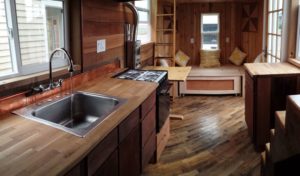
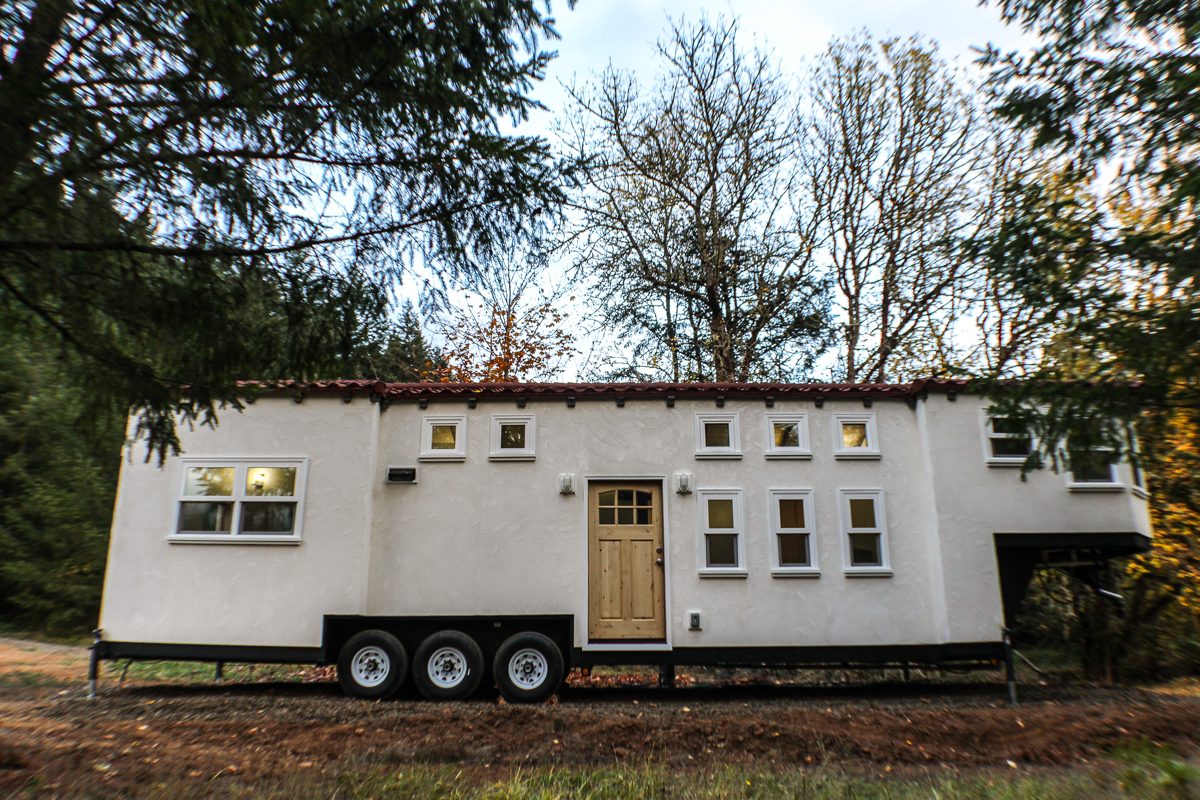
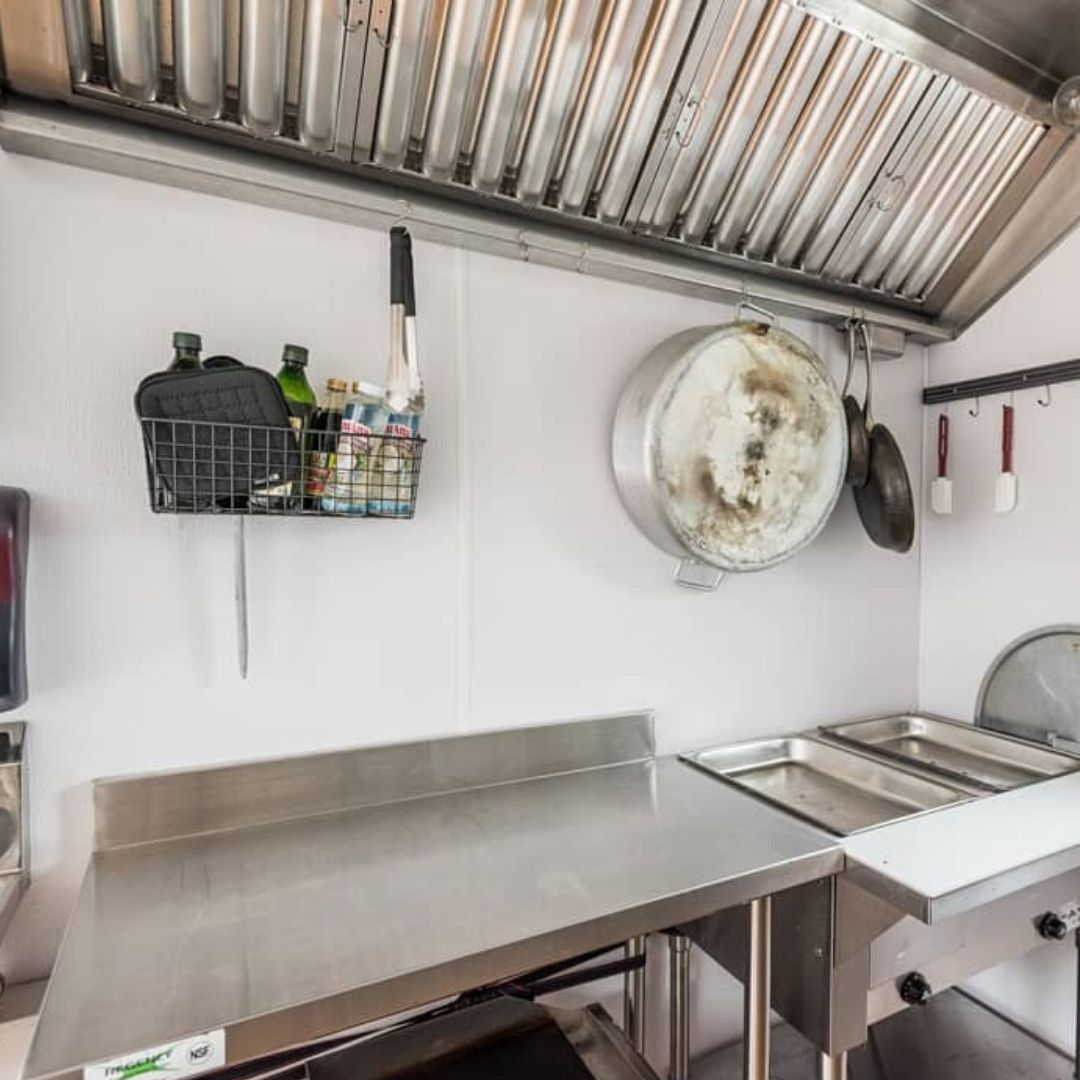
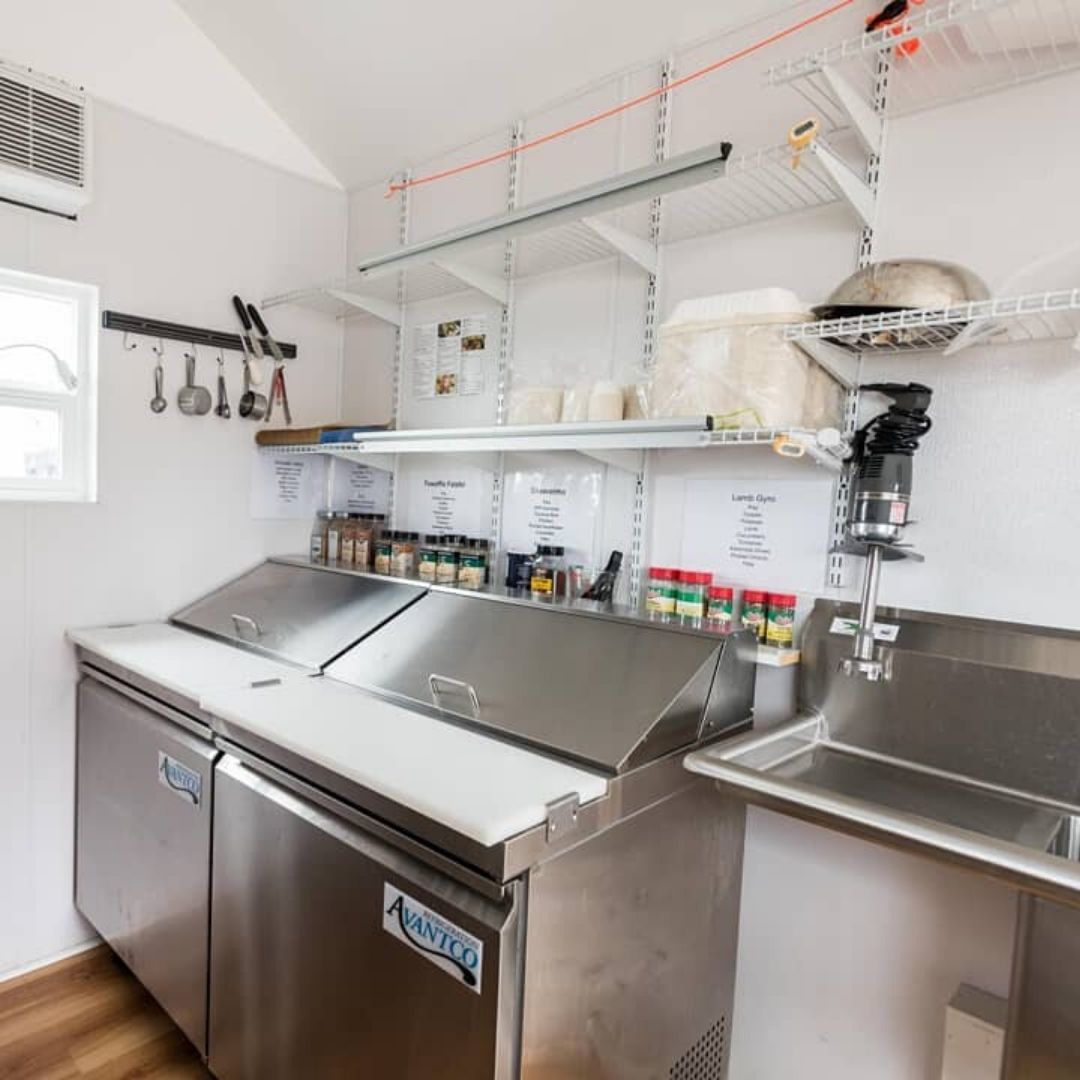
After having been in the food industry at all levels and types of food service for 15 years, Oliver has seen what works, and what doesn’t work. Eight years ago he started creating his own products.  He first sold at farmer’s markets and then events and festivals.  This experience helped him hone what type of cuisine he wanted for his own place.  Oliver states: “I am intentional about how everything looks.  The food tastes good, but before people try it they have to see what it looks like.  Presentation is important.  I want my kitchen to be very clean. The outside has to be more than a rusty truck.”  Working with the Tiny SMART House team, Oliver customized an 8.6’X16’ California Cabin model into his restaurant on wheels.

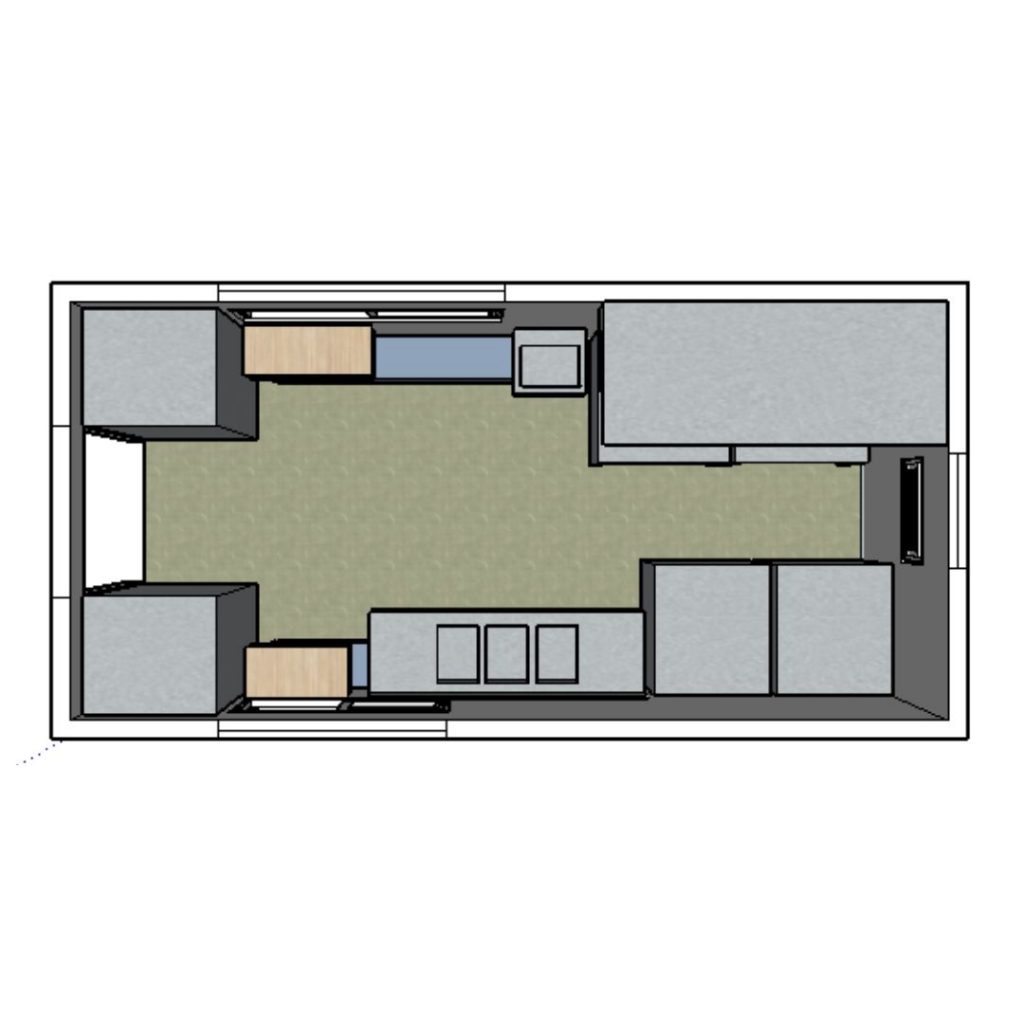
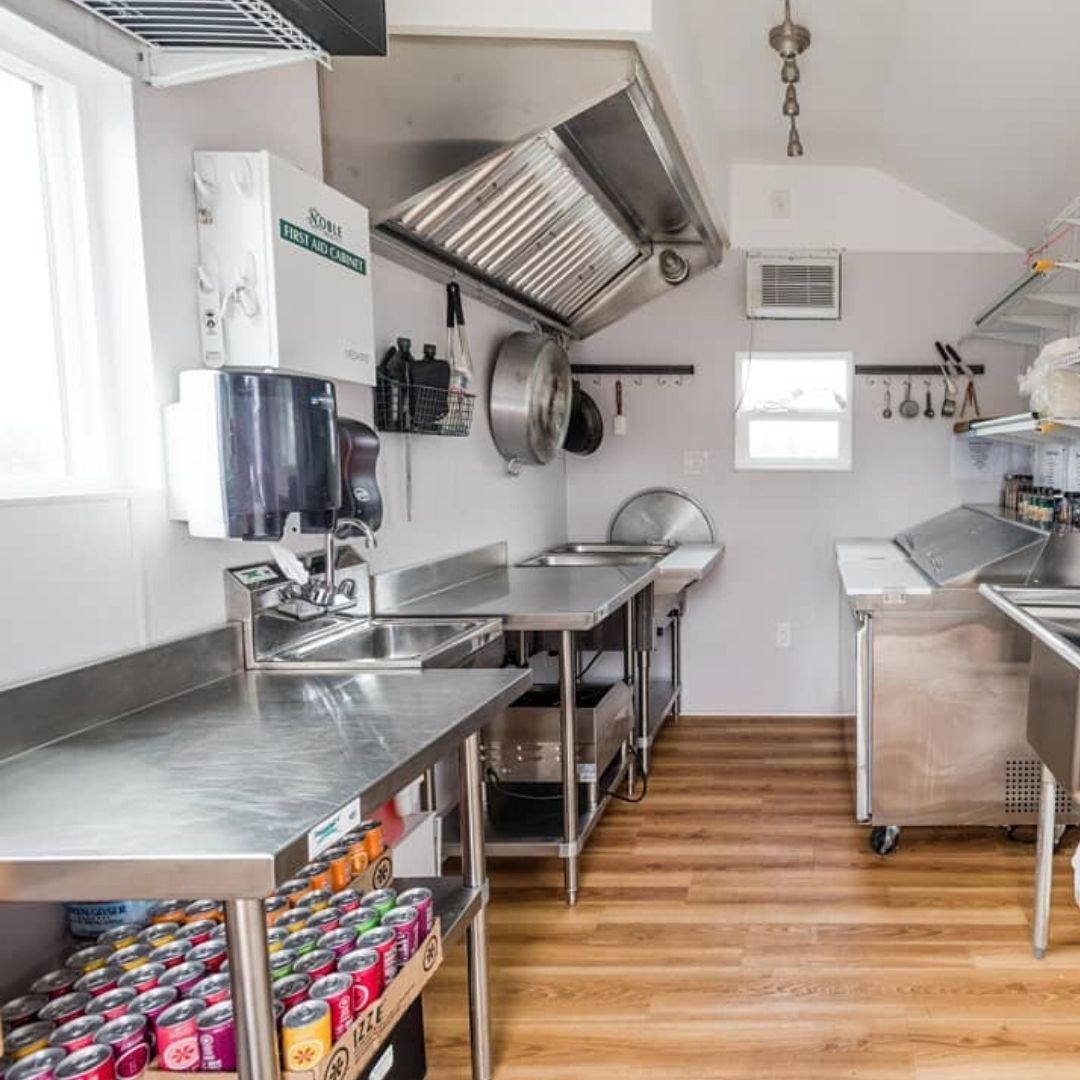
One thing Oliver appreciates about having a tiny house instead of a truck is that he can fit all his cooking equipment and appliances and still have room to move around.  Most food trucks need a commissary (an approved commercial kitchen) to make their food, which they then store in the truck to sell.  The Kalamata Bistro is its own commissary.  Oliver does go above and beyond with the care of his business.  In fact, the local health inspectors consider him (and the tiny house on wheels) the “gold standard” when telling other food trucks what’s expected.

The Kalamata Bistro food truck customers have been very impressed.  Not only is having a tiny house as a food truck unique (there are not many of these in the USA, especially not serving Mediterranean meals), but the quality of the structure adds to the atmosphere.  By the time they see the menu, customers are already thinking “this is going to be good!”

The Future

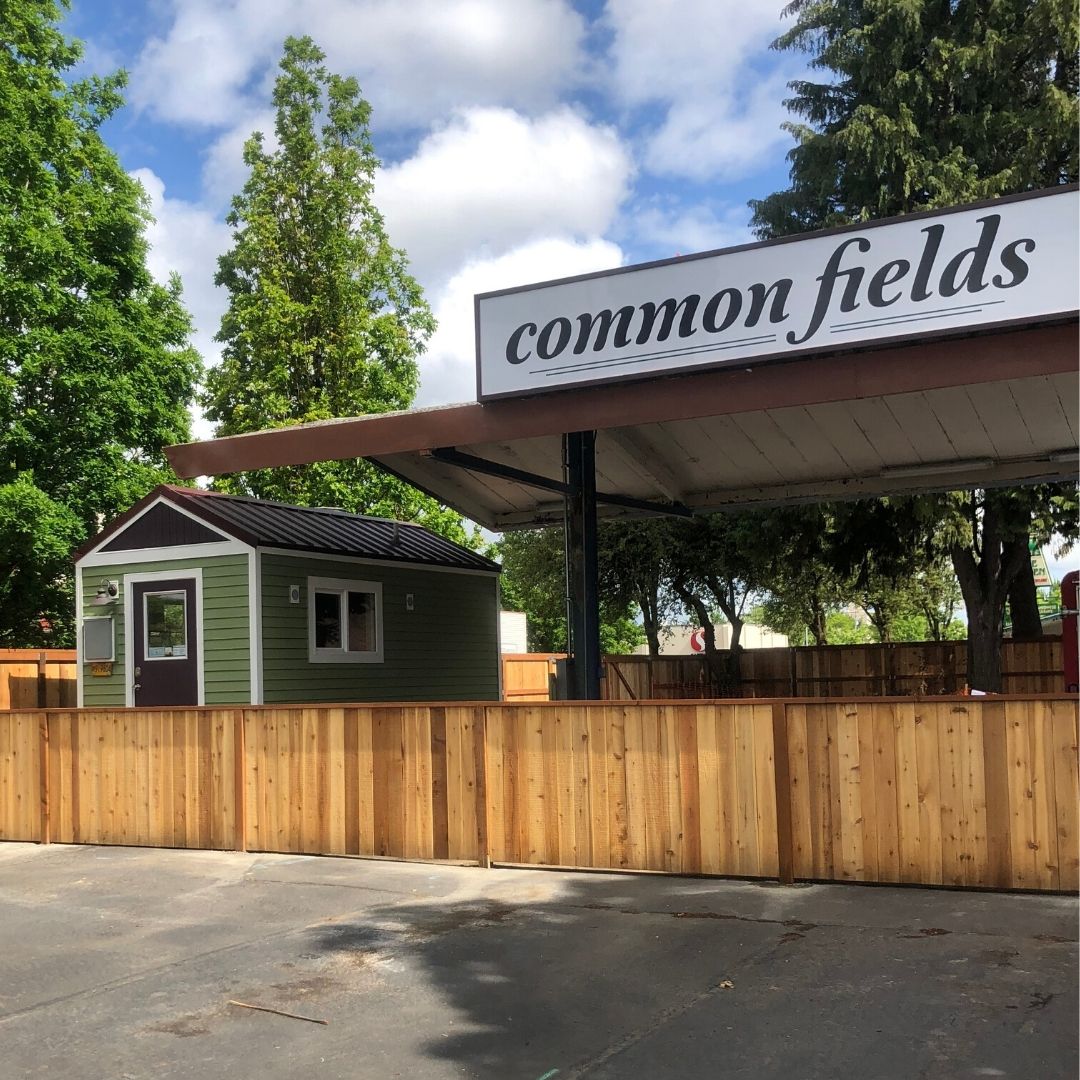
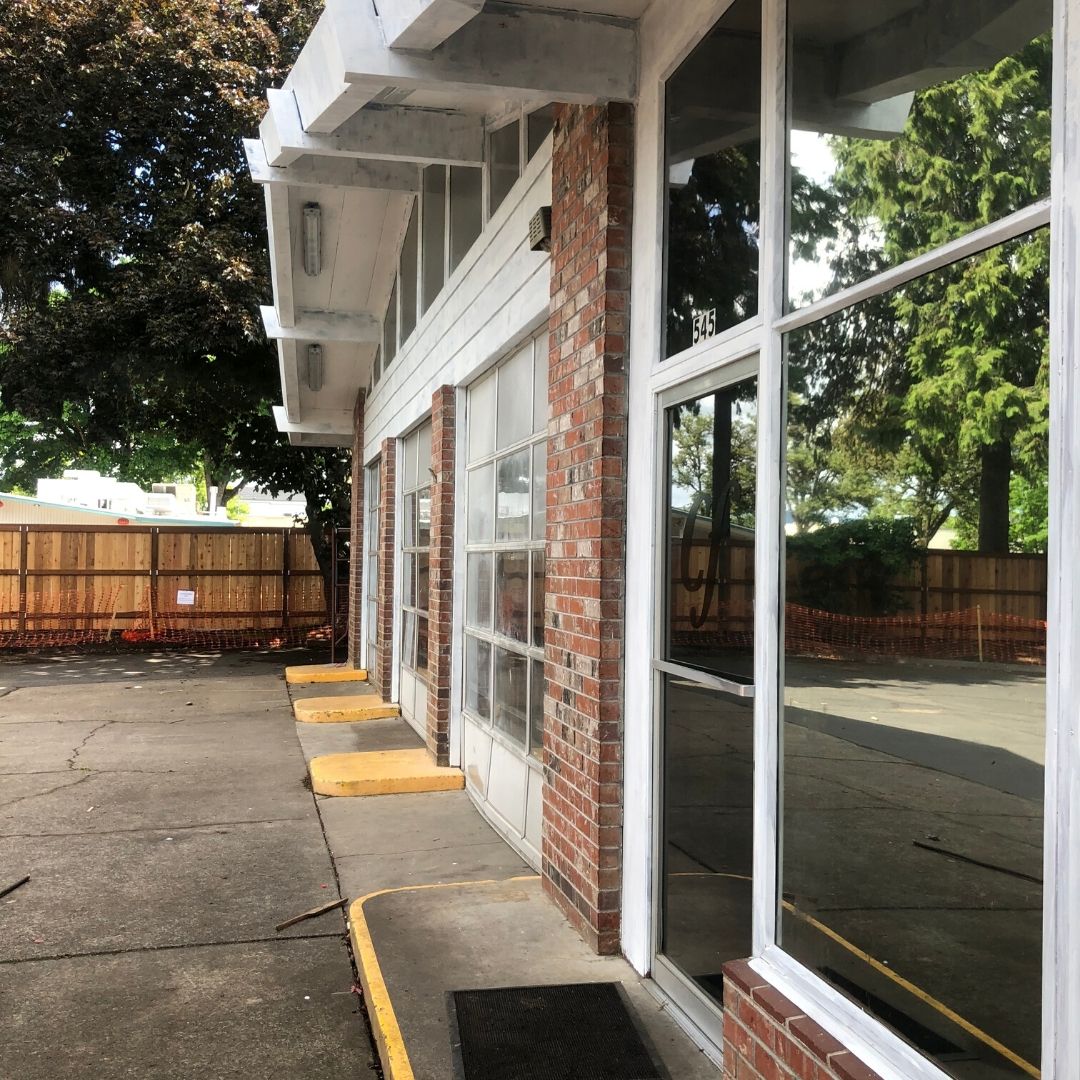
The tiny house food truck has been a big hit.  Building upon his success, Oliver has just opened a tap room converted from an old gas station.  The Kalamata Bistro is the bar’s kitchen.  He has plans to invite other food trucks (with the goal they are also nice looking tiny houses) to become Corvallis’ first food pod.  Will he build more tiny house food trucks?  He’d love to, but first he wants to ensure the success of Common Fields.

Visit the Tiny House Food Truck Pod

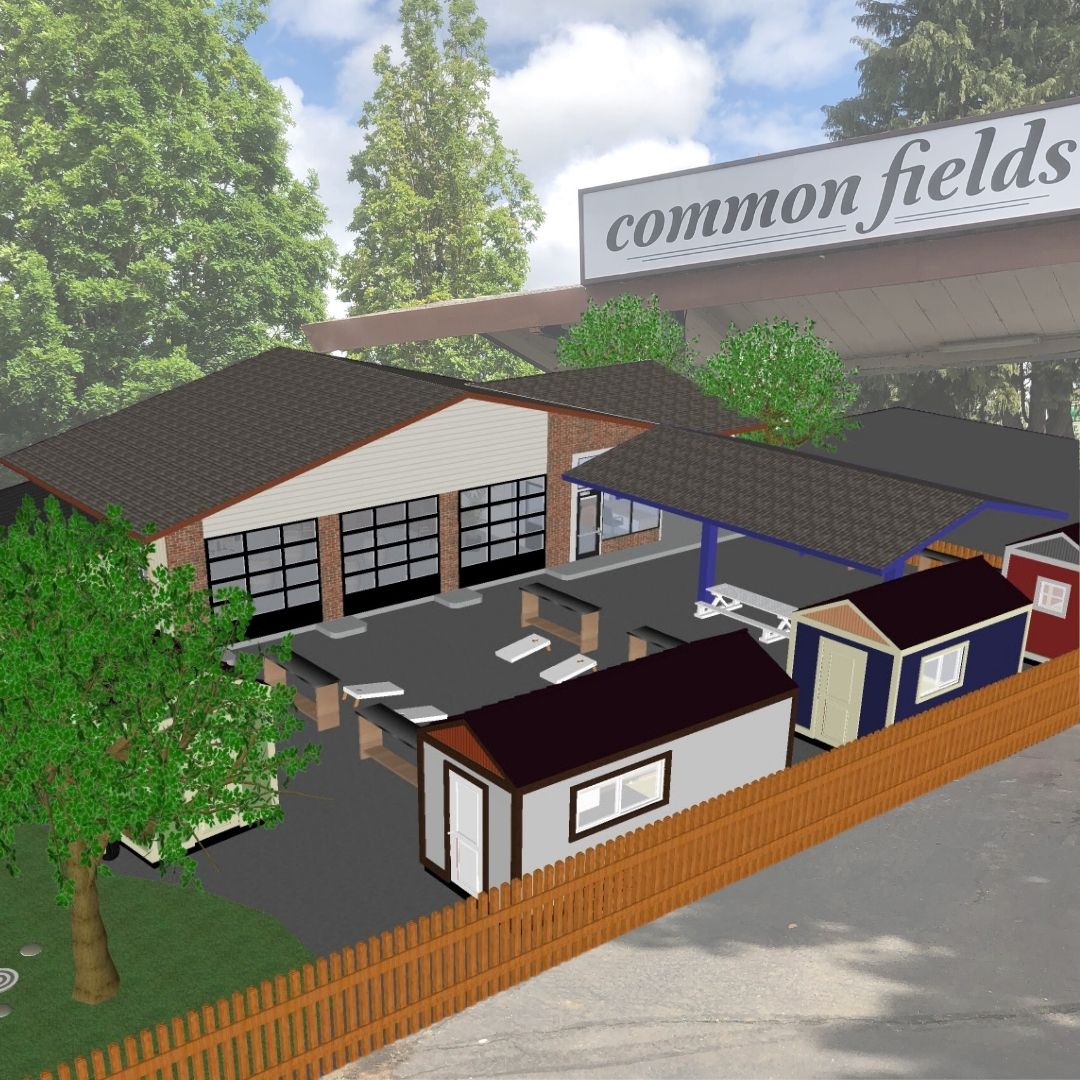
If you’re in the Corvallis, Oregon area – stop by for some great cuisine and a local pour.  Common Fields is located at 545 Southwest 3rd Street (at SW Western Blvd).  Currently they are open Monday – Friday, 11-2 for lunch. Check their Facebook page for updates and hours https://www.facebook.com/commonfieldscorvallis/


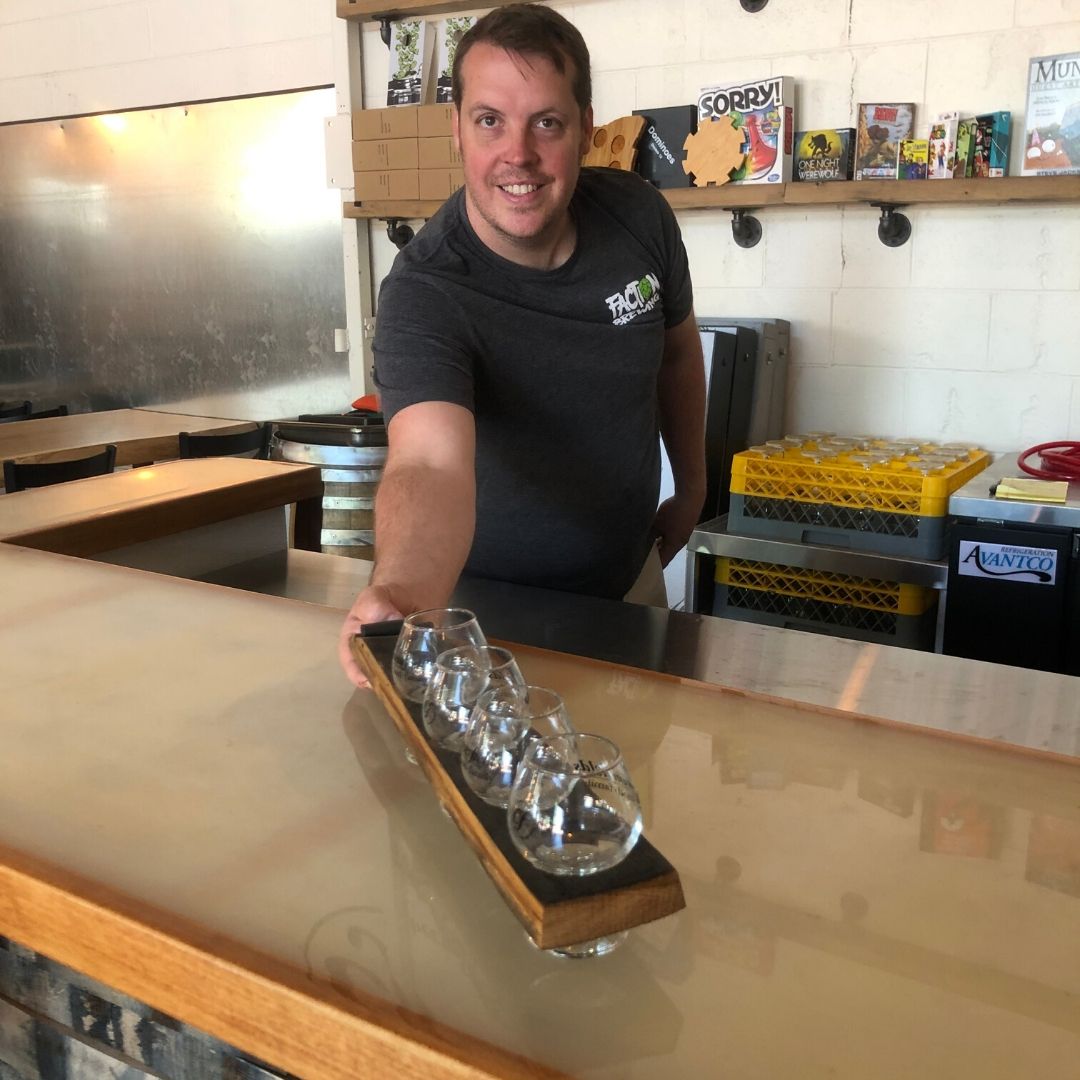
Interior kitchen photos courtesy of Kalamata Bistro.  Guest blog, exterior shots and Jacob Oliver at his bar photo by Stacey Newman Weldon.  When she isn’t busy helping people create their own tiny custom homes, you can find her inspiring others to discovering their sense of fun at Guest blog and illustration by Stacey Newman Weldon.  When she isn’t busy helping people create their own tiny custom homes, you can find her inspiring others to discovering their sense of fun at Adventure Wednesdays.

Finishing Touches, a Fun Penny Floor

Looking for a fun way to finish your floor?  Why not upcycle all those pennies you have into a cool copper floor?  Today we will show you how we did this for a popular tiny house!

Yellow and green tiny house
The house from “Tiny House Hunters” with the penny bathroom floor

Over the years, we’ve been lucky enough to have multiple Tiny SMART Houses featured on HGTV’s Tiny House Hunters. In June 2015, we were able to showcase a special project that incorporated a lot of fun customizations. Viewers told us their most popular one is the penny floor. Would you like to do this yourself? Here are a few tips from our experience.

close up of the penny bathroom floor
Don’t all those pennies look so shiny? Such a great copper accent!

Prep the floor

First, you’ll want to make sure you have a clean and level area. Any little bump will push up your pennies and cause unwanted blemishes. You can use a tile mud to level the floor if you don’t have a smooth surface to start.

Prep the pennies

Once you have achieved a level surface, make sure it’s a dark color to really make those pennies stand out. We recommend buying a tarnish remover and soaking the pennies prior to letting them dry. This will take you a while and you’ll need more pennies than you probably thought possible. Make sure to leave enough time and bring extra materials just in case. The shine will be worth it in the end!

PLACE THE PENNIES

Next we used a spray adhesive, started in the furthest corner and worked down in rows. This may take some practice at first. Thankfully, these adhesives have a forgiving nature so that you can shift the pennies into neat rows as needed. Make sure any portion that you have already laid is covered prior to starting the next row of adhesive spray.

view from above of penny bathroom floor

MAKe them a floor

Once the floor is completely covered, make sure that the surface is wiped down and no debris remains. If everything looks the way you desire then it’s time to float a thick layer of marine grade self leveling epoxy.

Do not step on it until you have followed the directions on the epoxy and the resin is completely cured. 

Then voila! You have a beautiful finished product that brings out all the other copper accents of your tiny house.

More Details from this creative house

metal shower stall with copper pipes

view of "Steampunk" tiny house from the loft

copper trim on the bedroom loft

inside of the "Steampunk" tiny house

We’re pleased to bring you this guest blog by our finish and trim expert, Shana Hirst.

Monterey Villa, part 4: A Spanish Roof & Stucco!

Monterey Villa gooseneck tiny house with palm trees in background

Kurt and I both had experience building Spanish architecture in traditional size houses. Our puzzle with this house was to fit exposed beams, insulation and loft headroom into a 13’6” tall structure. Additionally I had the crazy awesome idea of using the gooseneck portion of the home for the bathroom. This meant that we needed to fit a shower tall enough for our clients (and the average guest) under the most intricate part of the beam work. 

My vision was 3 separate roof sections and a staggered facade to give the house a traditional feeling and bigger presence from the broad side of the house. I wanted the loft beams and rafters to poke through the walls and hold up what would look like a clay tile roof. I really wanted this home to feel like it was 100 years old and built to last the next 100 years. Finding the right materials to achieve this while being lightweight and road safe was the next step.

Our junior designer Bri, lead designer Shelby and I started hunting for materials. We literally had the words “Find a roof and exterior finish” written on our design office boards for months. Every product or material we found had to be ordered, examined and tested for durability and ease of installation. We had samples, brochures and mock ups trailing from the design office to the shop and back.

Bri finally found the wining roof material from Stile, and Shana who leads our finish shop found flexible stucco!


We decided the rafters and beams couldn’t really poke through the walls on a movable house but we could still get that look. Normally I’m not a big fan of “faux” architecture as such but Kurt and I both felt the exterior corbels under the roofline were a big design element that gave contrast to the white walls and added to the Spanish feeling. 

The interior finishes, fixtures and equipment (FFE) was the next step in the design process. We started with the biggest pieces like the SMEG retro vintage fridge, a key design element from the beginning. The aesthetic was perfect for the look and era and the small size fit the scale of the home.

The clients shared many inspirational photos of interiors and almost all had exposed aged and distressed wood beams. Shana developed an “Ebonizing wash” for the beams that used vinegar, steel wool and black tea to age and “burn” the raw wood. The effect was stunning as various shades of grey emerged across the natural wood grain. Each piece of wood is unique and really feels special. My favorite spot is the finger joint on the P-lam ridge beam in the center of the home. There is something about the juxtaposition of the modern engineering with an aged finish that makes me smile. Our clients are an engineer and an artist and that one spot in the heart of their home where modern engineering meets old world beauty makes me think of them.

Monterey Villa side view outside

Guest blog by Jennifer Richmond, Tiny SMART House business development manager,
experienced designer and tiny house expert