Monterey Villa, part 4: A Spanish Roof & Stucco!

Monterey Villa gooseneck tiny house with palm trees in background

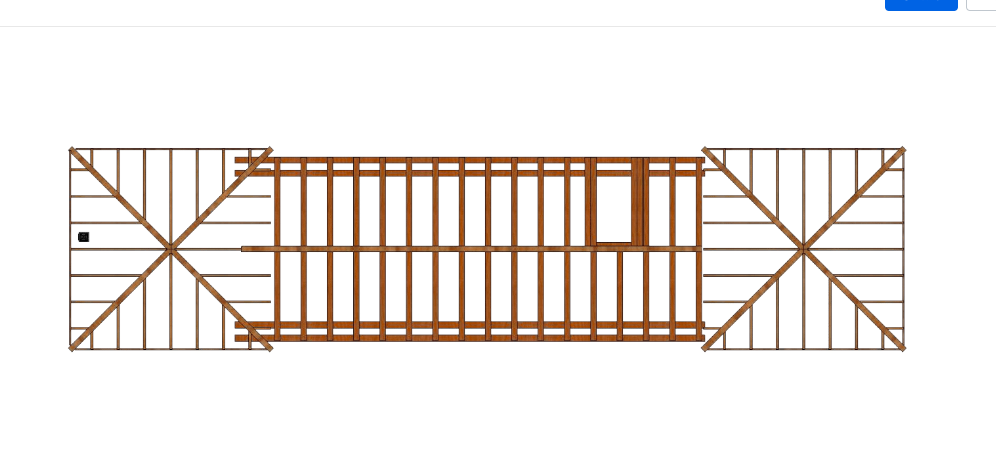
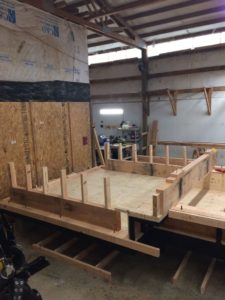
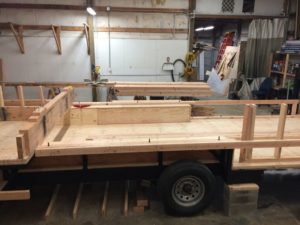
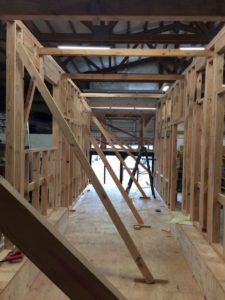
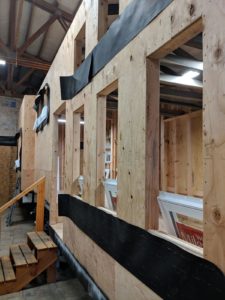
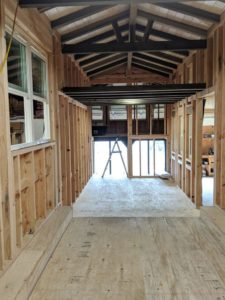
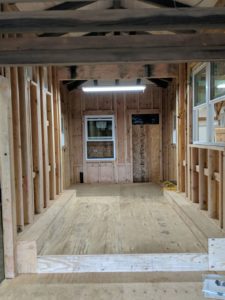
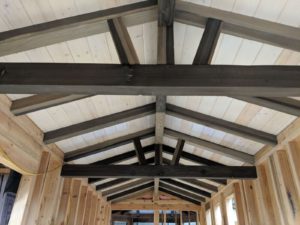
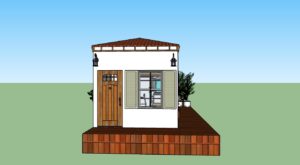
Kurt and I both had experience building Spanish architecture in traditional size houses. Our puzzle with this house was to fit exposed beams, insulation and loft headroom into a 13’6” tall structure. Additionally I had the crazy awesome idea of using the gooseneck portion of the home for the bathroom. This meant that we needed to fit a shower tall enough for our clients (and the average guest) under the most intricate part of the beam work. 

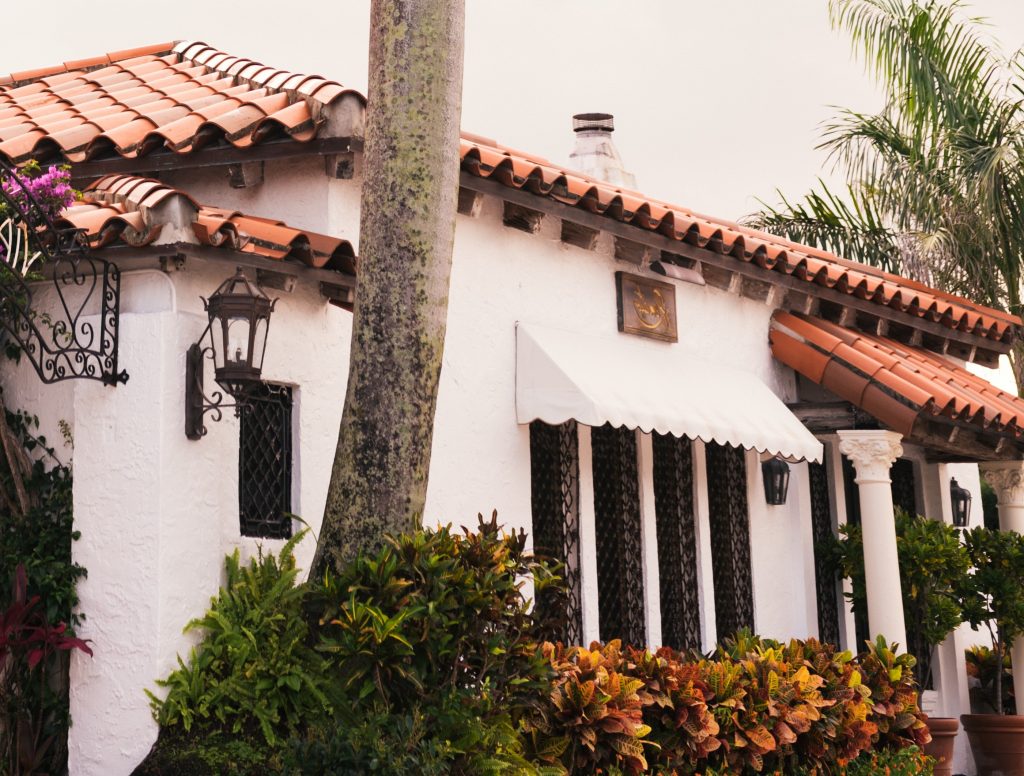
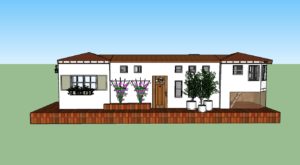
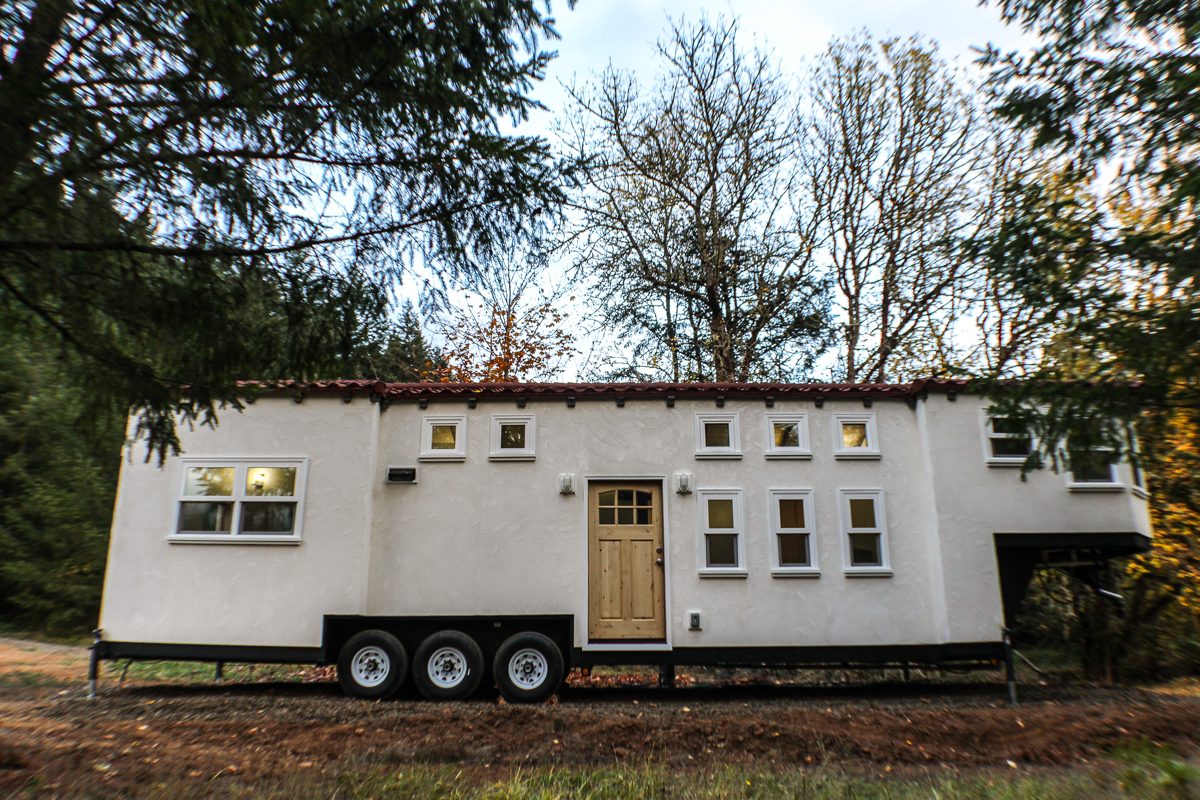
My vision was 3 separate roof sections and a staggered facade to give the house a traditional feeling and bigger presence from the broad side of the house. I wanted the loft beams and rafters to poke through the walls and hold up what would look like a clay tile roof. I really wanted this home to feel like it was 100 years old and built to last the next 100 years. Finding the right materials to achieve this while being lightweight and road safe was the next step.

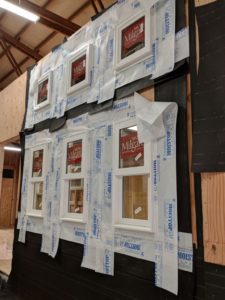
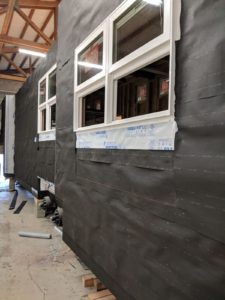
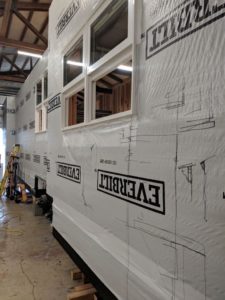
Our junior designer Bri, lead designer Shelby and I started hunting for materials. We literally had the words “Find a roof and exterior finish” written on our design office boards for months. Every product or material we found had to be ordered, examined and tested for durability and ease of installation. We had samples, brochures and mock ups trailing from the design office to the shop and back.

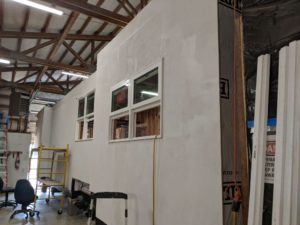
Bri finally found the wining roof material from Stile, and Shana who leads our finish shop found flexible stucco!


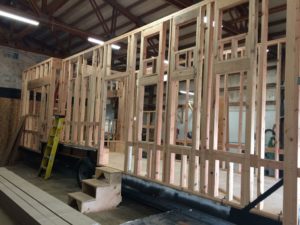
We decided the rafters and beams couldn’t really poke through the walls on a movable house but we could still get that look. Normally I’m not a big fan of “faux” architecture as such but Kurt and I both felt the exterior corbels under the roofline were a big design element that gave contrast to the white walls and added to the Spanish feeling. 

The interior finishes, fixtures and equipment (FFE) was the next step in the design process. We started with the biggest pieces like the SMEG retro vintage fridge, a key design element from the beginning. The aesthetic was perfect for the look and era and the small size fit the scale of the home.

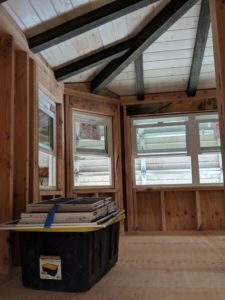
The clients shared many inspirational photos of interiors and almost all had exposed aged and distressed wood beams. Shana developed an “Ebonizing wash” for the beams that used vinegar, steel wool and black tea to age and “burn” the raw wood. The effect was stunning as various shades of grey emerged across the natural wood grain. Each piece of wood is unique and really feels special. My favorite spot is the finger joint on the P-lam ridge beam in the center of the home. There is something about the juxtaposition of the modern engineering with an aged finish that makes me smile. Our clients are an engineer and an artist and that one spot in the heart of their home where modern engineering meets old world beauty makes me think of them.

Monterey Villa side view outside

Guest blog by Jennifer Richmond, Tiny SMART House business development manager,
experienced designer and tiny house expert

Monterey Villa, part 3: Details

floor plan of Monterey Villa

Warning: Custom designing a house “from scratch” is a long process and no one person should try to attempt this alone. Architectural and interior designers often dream big and have a hard time thinking small. This is most true when designing a beautiful and functional home in less than 600 square feet. One might say it takes a village to build a tiny house and getting everything right is a massive undertaking.

From my sketches, I created a 3D model of the house and refined that with the clients until we had a solid floorplan layout that they approved. Kurt our lead carpenter, Nathan owner/designer/carpenter and I then had to figure out and document how the house would be framed and built. As with traditional sized houses, we design and plan for every system (electrical, plumbing, roof structure, HVAC etc.) we just have a very, very small box to put everything in.

On top of designing the house, we also design and manufacture the trailer that the house is built on. Eric, our master welder and master of steel consults on the plan design in the early stages and is responsible for the first, and arguably most important, part of our tiny houses: the steel trailer frame that serves as the “foundation” of a THOW. Getting the right support where it is needed and not interfering with any of the house systems is crucial. Every detail from the anchor bolts to axles is crucial to the success of the whole house. After all, this house needs to be able to travel at approximately 70 mph over any road conditions safely and securely.

When doing a custom house, the construction documents are typically working documents through much of the build. One part is communicating the overall vision and key design elements to the construction team and the other part is documenting the details of how the carpenters actually build the house. In the Monterey Villa, the roof system took the most time to design, engineer and build. 

Guest blog written by Jennifer Richmond, Tiny SMART House business development manager,
experienced designer and tiny house expert

Monterey Villa, part 1: Design Process

Spanish style building

Our clients came to us in the summer of 2017 with a tiny house dream. They loved our craftsmanship and designs but dreamed of something they had never actually seen before. I remember our first tour of the Tiny SMART House shops. We spent more time chatting and getting to know each other than pinpointing what their dream home was going to be.

Our design and build team has over 100 years of construction experience and we have worked with hundreds of clients. Each client is different and unique with their own ideas gathered in their own way. Our job is take their ideas and translate them into a functional and beautiful tiny house. Our success relies on our ability to communicate well with clients and each other. We gather information from several initial interviews and whatever media our clients bring to us. Sometimes the media is sketches, photos, Pinterest or Houzz posts etc. We listen to our clients and sketch out architecture until they start to see something they love emerge.

These clients wanted something that represented a style of home they fell in love with years ago.  Their dream was to create a mini oasis!  Check parts 2,3 & 4 to see the entire process!

Guest blog written by Jennifer Richmond, Tiny SMART House business development manager,
experienced designer and tiny house expert

Monterey Villa – part 6 (Build Progress Photos)

Part of our services are to provide progress photos of the builds for our clients. It’s exciting to watch your new home come together, plus it helps everyone stay updated and on the same page. Here’s a sneak peek of some progress photos of our popular model, the Monterey Villa!

Before you begin, take a look at our SketchUp video to get an idea of what the finished product will look like. Provided for your viewing pleasure. Enjoy.

EVEN THE SKETCHUP IS PRETTY…